Microsoft now provides an official step-by-step guide on how to open and use a shared mailbox in Outlook. Their instructions include updated screenshots and apply to the most recent versions of Outlook across different platforms.
You can view Microsoft’s guide here:
Open and Use a Shared Mailbox in Outlook (Microsoft Support)
The tutorial below remains available for reference and may be helpful if you are using an older version of Outlook.
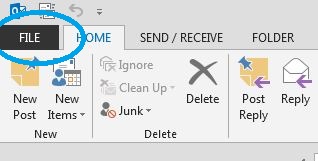
In Outlook, click on File.
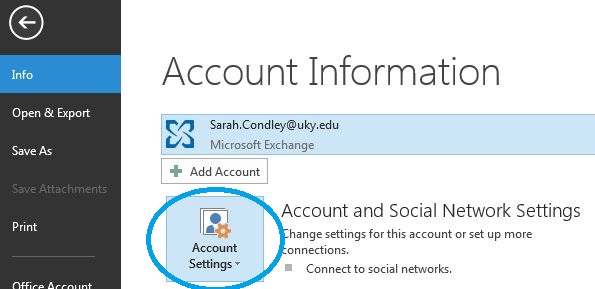
You should automatically be on the Info menu. Click on Account Settings.
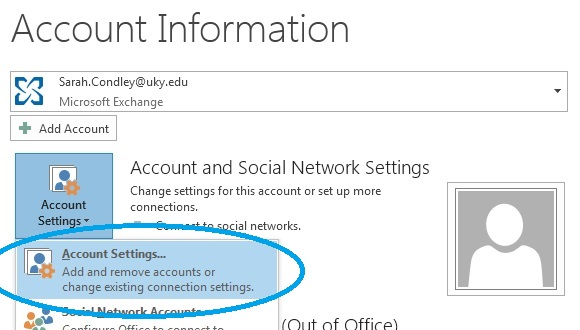
In the dropdown, choose Account Settings again.
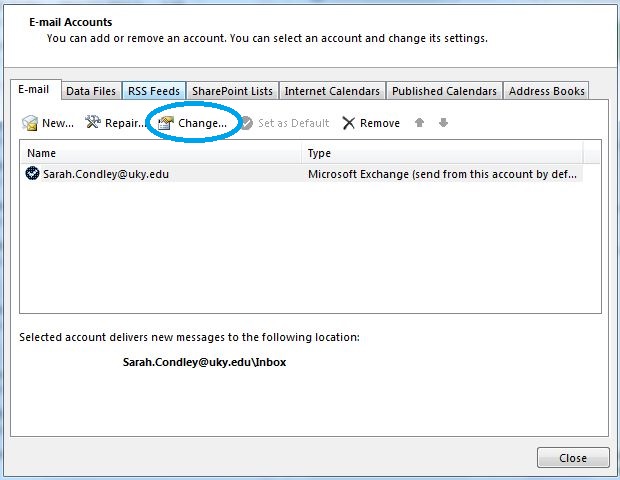
You'll see your Exchange Account listed. Click Change...
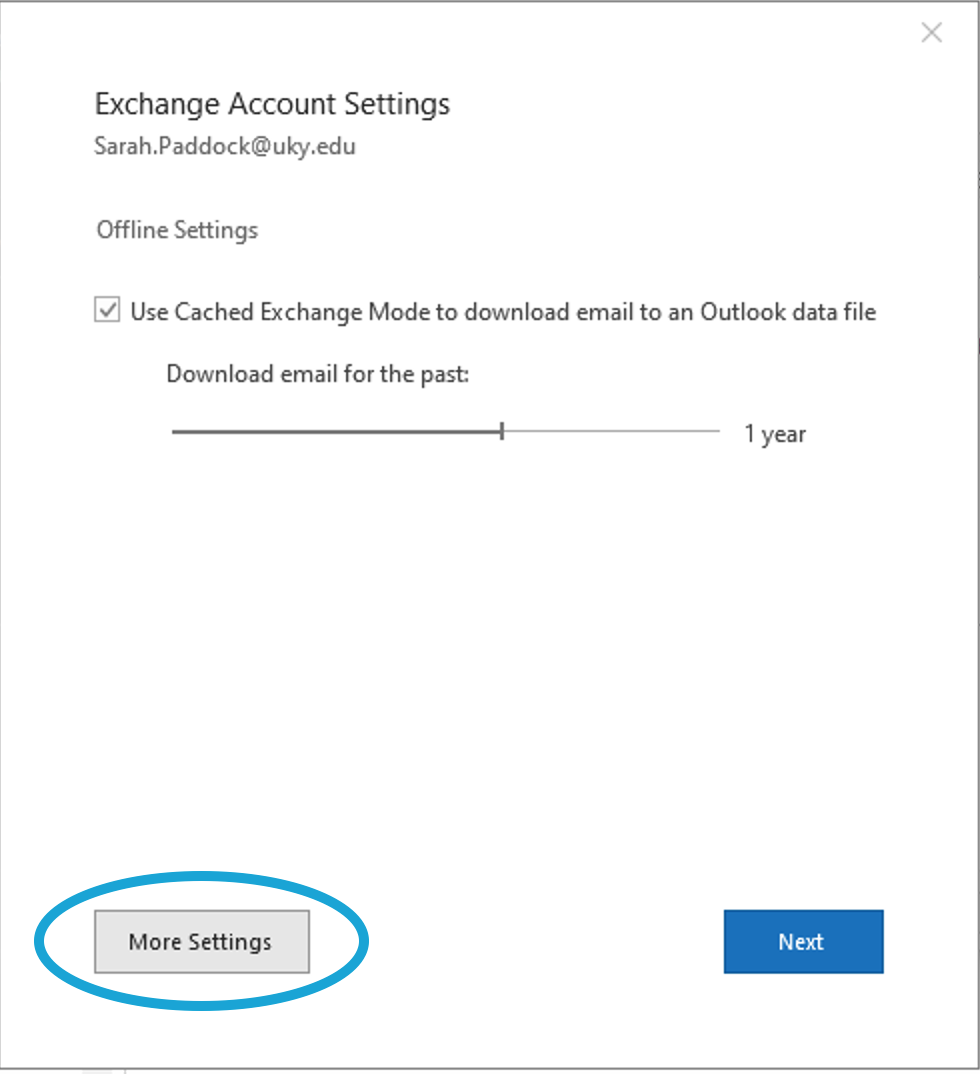
Click on More Settings...
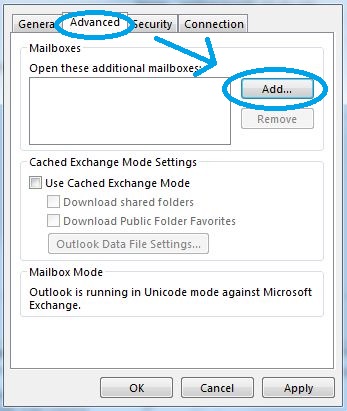
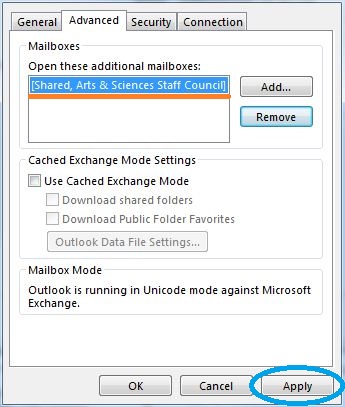
Go to the Advanced tab, and click Add...
Type in the name of your resource mailbox, and click OK.
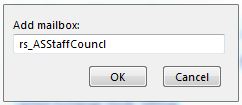
You should see your mailbox listed. Click Apply
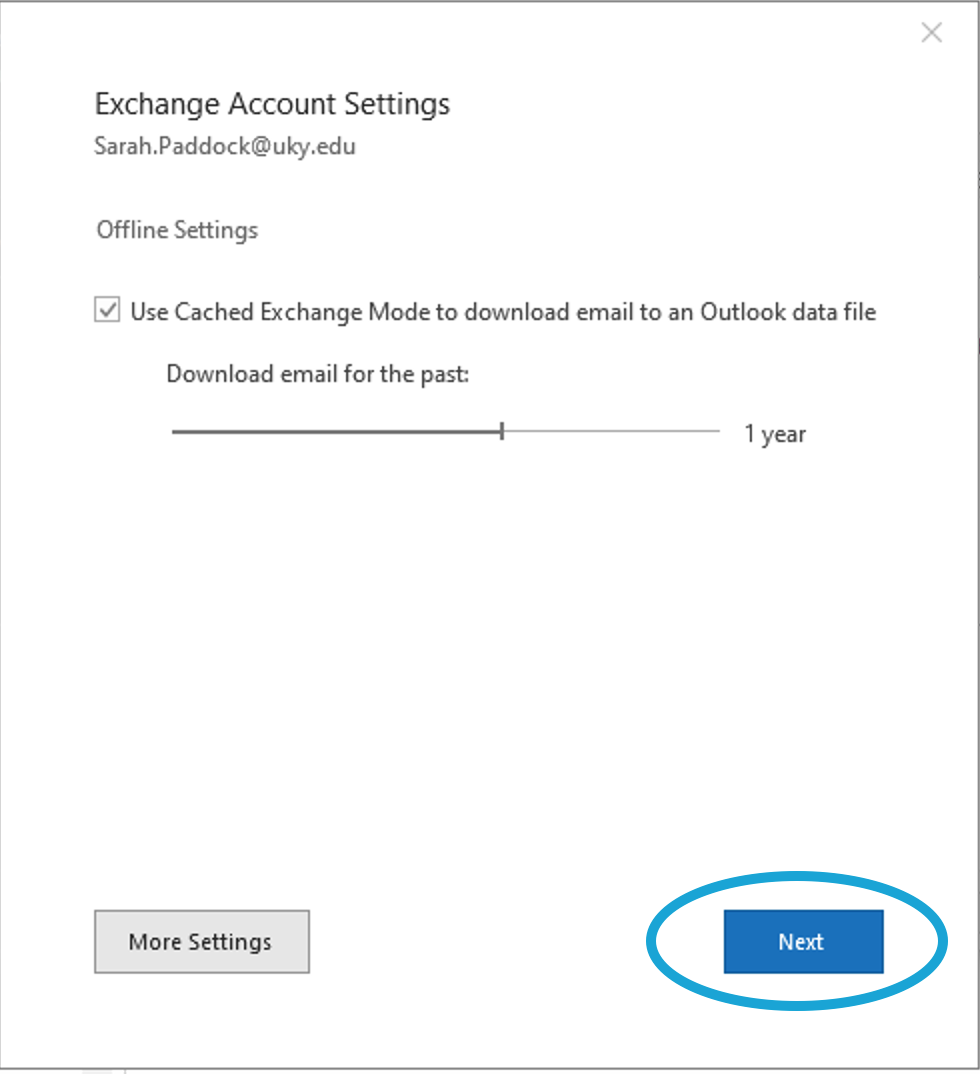
Click Next and Finish.