
Intended audience:
All users
Steps:
1.
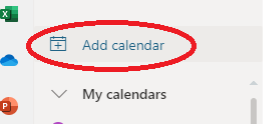
Step 1: Click “Add calendar” from the column on the
2.
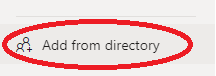
An add calendar window will pop up. Click “Add from directory".
3.
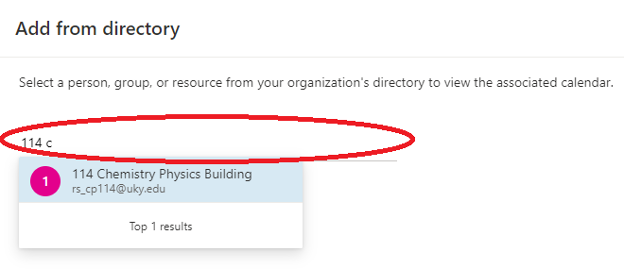
On the line provided, type the name of the room you’d like to view/add. The name will pop up below. Click the name.
4.
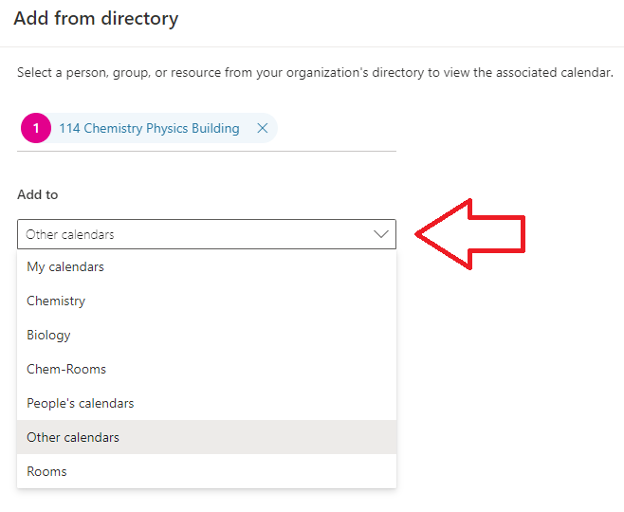
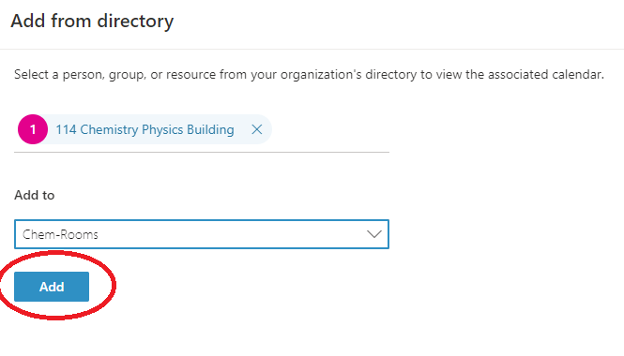
You will be prompted to choose a calendar to add your room to.
5.
Click “Add” once you’ve chosen which calendar to add your room to.
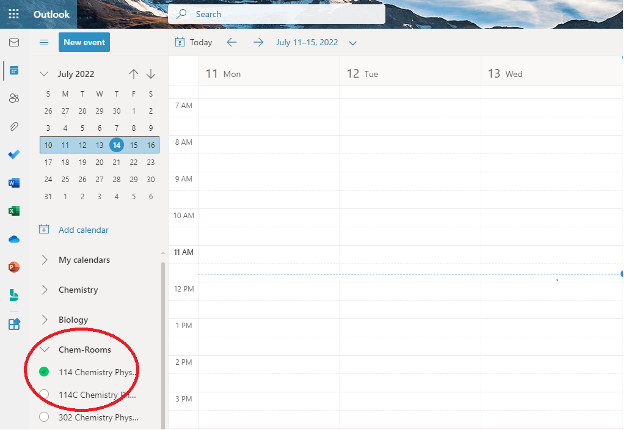
6.
The added calendar will be displayed on the left-hand side, and you will be able to see any reservations on the right side.
Tutorial Tags:
Category:
